This procedure will guide you through the steps to replace a hydraulic cylinder on your Goodnature X-1.
Follow these steps:
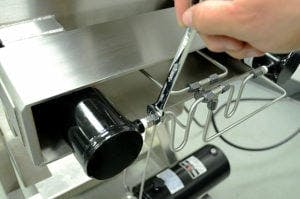
1. Make sure the platen has been retracted (the press is fully open) and the machine is off in the neutral position, and unplugged. Removing a cylinder will require two 9/16” wrench, a 1 1/2” box end wrench, and Loctite 242. Using a 9/16” wrench, remove the two hydraulic lines which are connected to the defective cylinder. Remove the 1” nut which holds the cylinder to the moving platen. Remove the four nuts and bolts which hold the piston to the X1 frame and remove the cylinder.
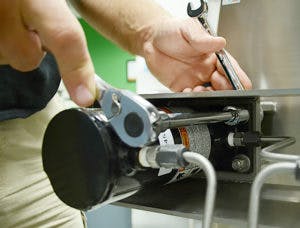
2. Slide the new piston in place. Apply Loctite 242 on the four bolts and loosely attach the bolts and nuts, do not tighten. Apply two drops of Loctite 242 on the cylinder rod threads and attach the nut to the cylinder, tighten down as tight as possible. Attach the two hydraulic lines tightly to the cylinder. Turn on the press and close the platen all the way. Tighten the four bolts which hold the piston to the X1 frame, tightly, then retract the platen.
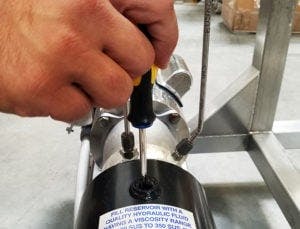
3. In the process of replacing a cylinder, you may have lost hydraulic fluid. Check your fluid level by removing the cap on the hydraulic tank. Only check fluid level when the press is in the completely open position. Your fluid should be visible to one inch below the top of the tank. Use ISO 32 Food Grade hydraulic fluid to replace lost fluid.
For additional technical support needs, contact our technical support team. To order new parts and press bags, visit the X-1 parts page.