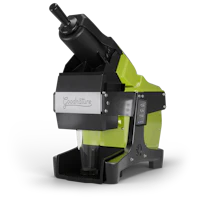
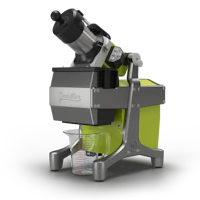
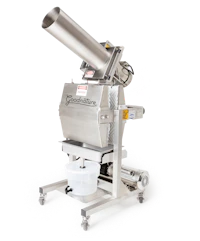
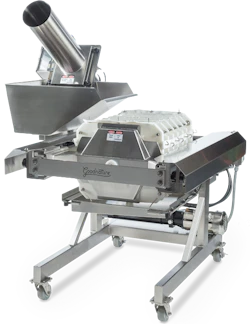


This procedure will guide you through the steps to replacing the hydraulic pressure gauge on the Goodnature X-1.
Note: Before undertaking repair on your X-1 pressure Gauge, always unplug the machine and be certain that the directional valve is in the neutral position.
1. You may lose a small amount of hydraulic fluid in the process of replacing the pressure gauge on your X-1. It is recommended that you have a small pan to catch fluid and a rag on hand to clean up any spill. (Replacement hydraulic fluid is designated: ISO 32 Food Grade, obtainable through your local hydraulic fluid dealer)
2. Using an 9/16” Open End Wrench, break free the nut located at the base of the gauge (The nut may be very tight, be careful when exerting force to break the nut free). Hold the connector for the gauge with a 3/4″ open end wrench.
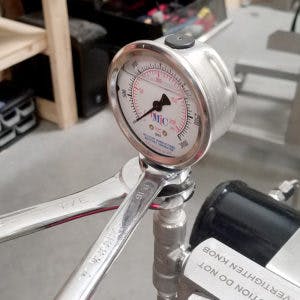
3. When the nut is free, continue turning nut counterclockwise a few revolutions. You may now remove the gauge. To remove the gauge, turn counterclockwise until gauge stem is free of Directional Valve.
4. Note: Since your new gauge is equipped with an O-ring, Teflon tape is not necessary when attaching the new gauge.
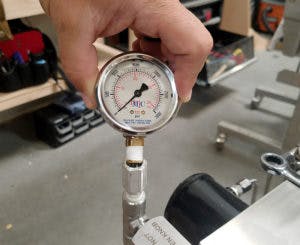
5. Insert the stem into the Directional Block, turning the gauge until it bottoms out. With the gauge in place, facing towards the round directional valve, turn the nut clockwise and tighten with your 9/16” wrench.
For additional technical support needs, contact our technical support team. To order new parts and press bags, visit the X-1 parts page.